Operation Program CPLD
I finally got enough of my stuff from Amazon late last night that I was able to do some soldering this morning. I am getting better at soldering. I am learning tricks.
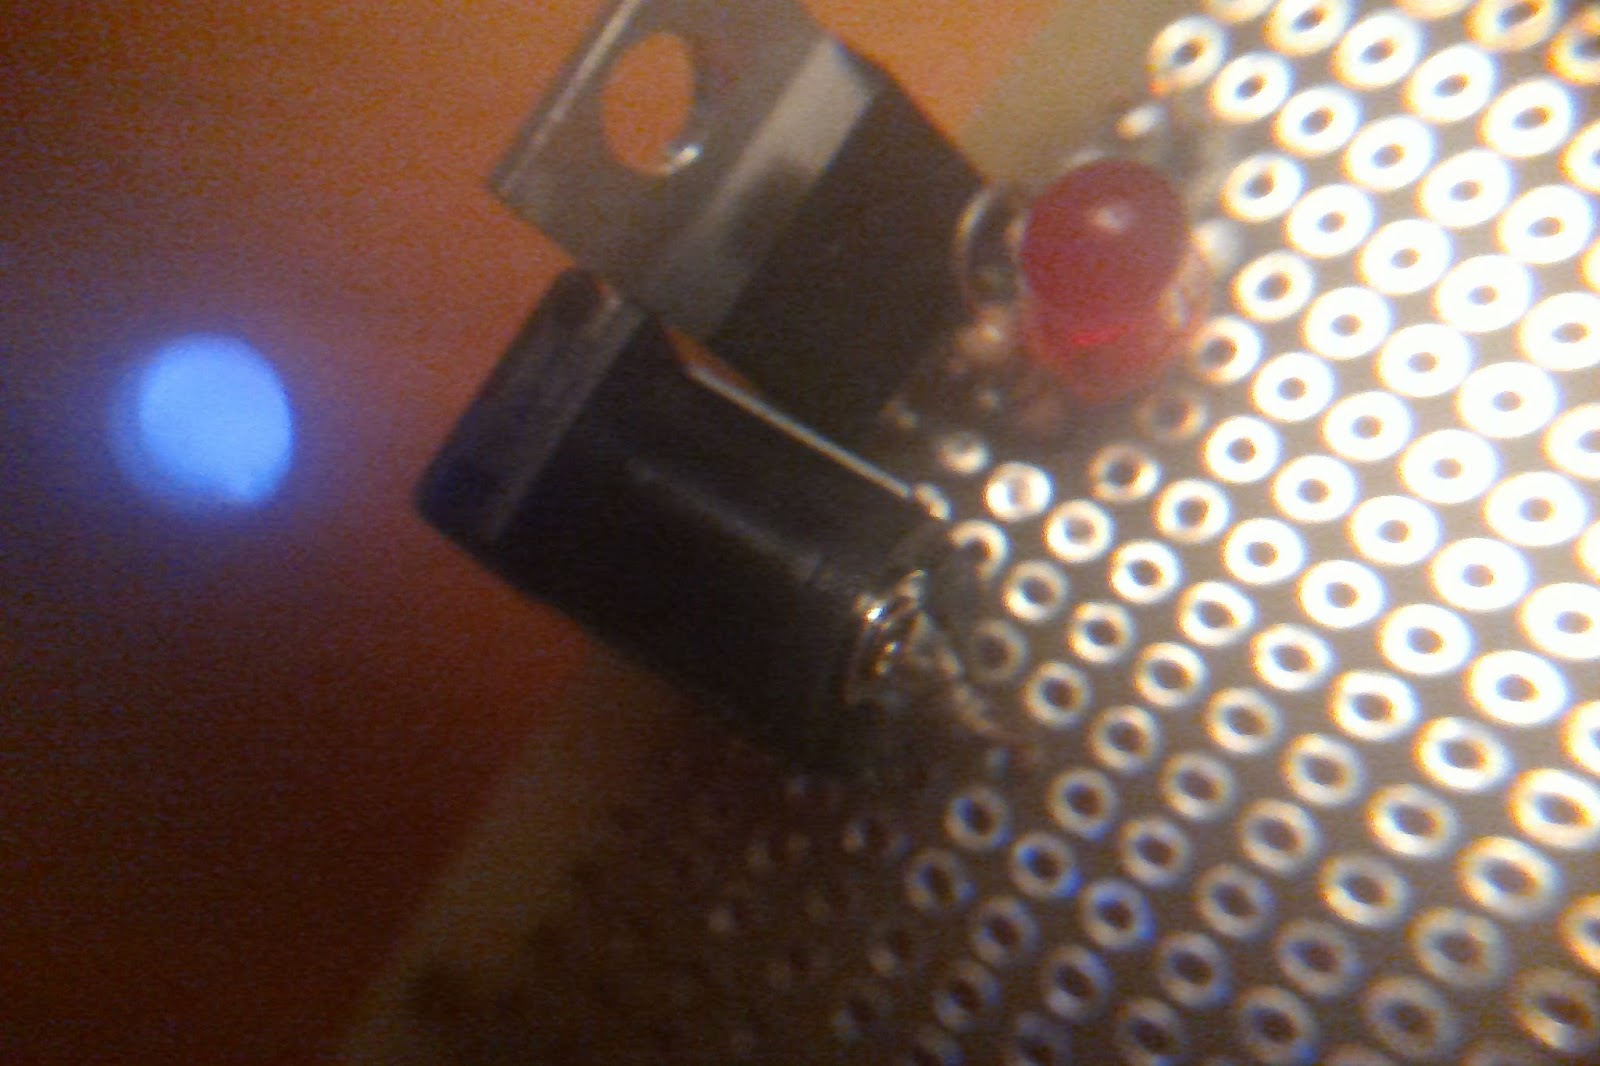
First, I redid the whole 5V supply a second time and checked for LED and 5v.
I got some pictures by hold lenses in front of Surface Pro 3 camera which otherwise sucks for close-ups.
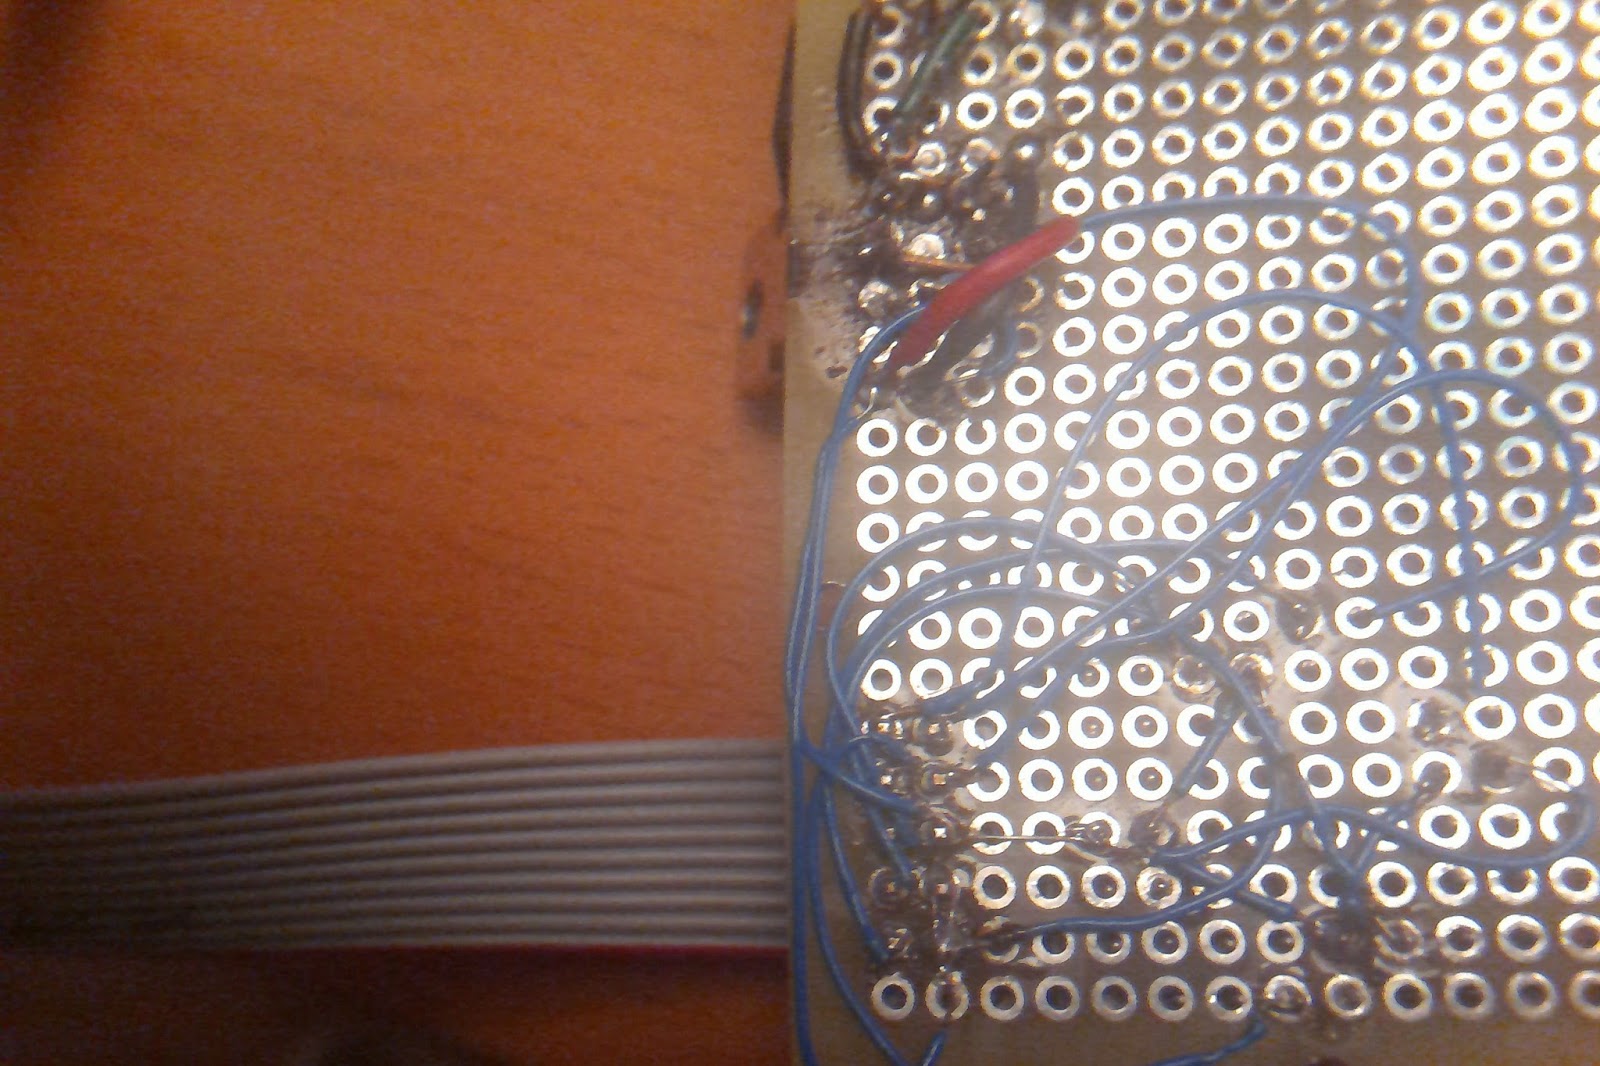
As you can see, this is a mess–but it works:
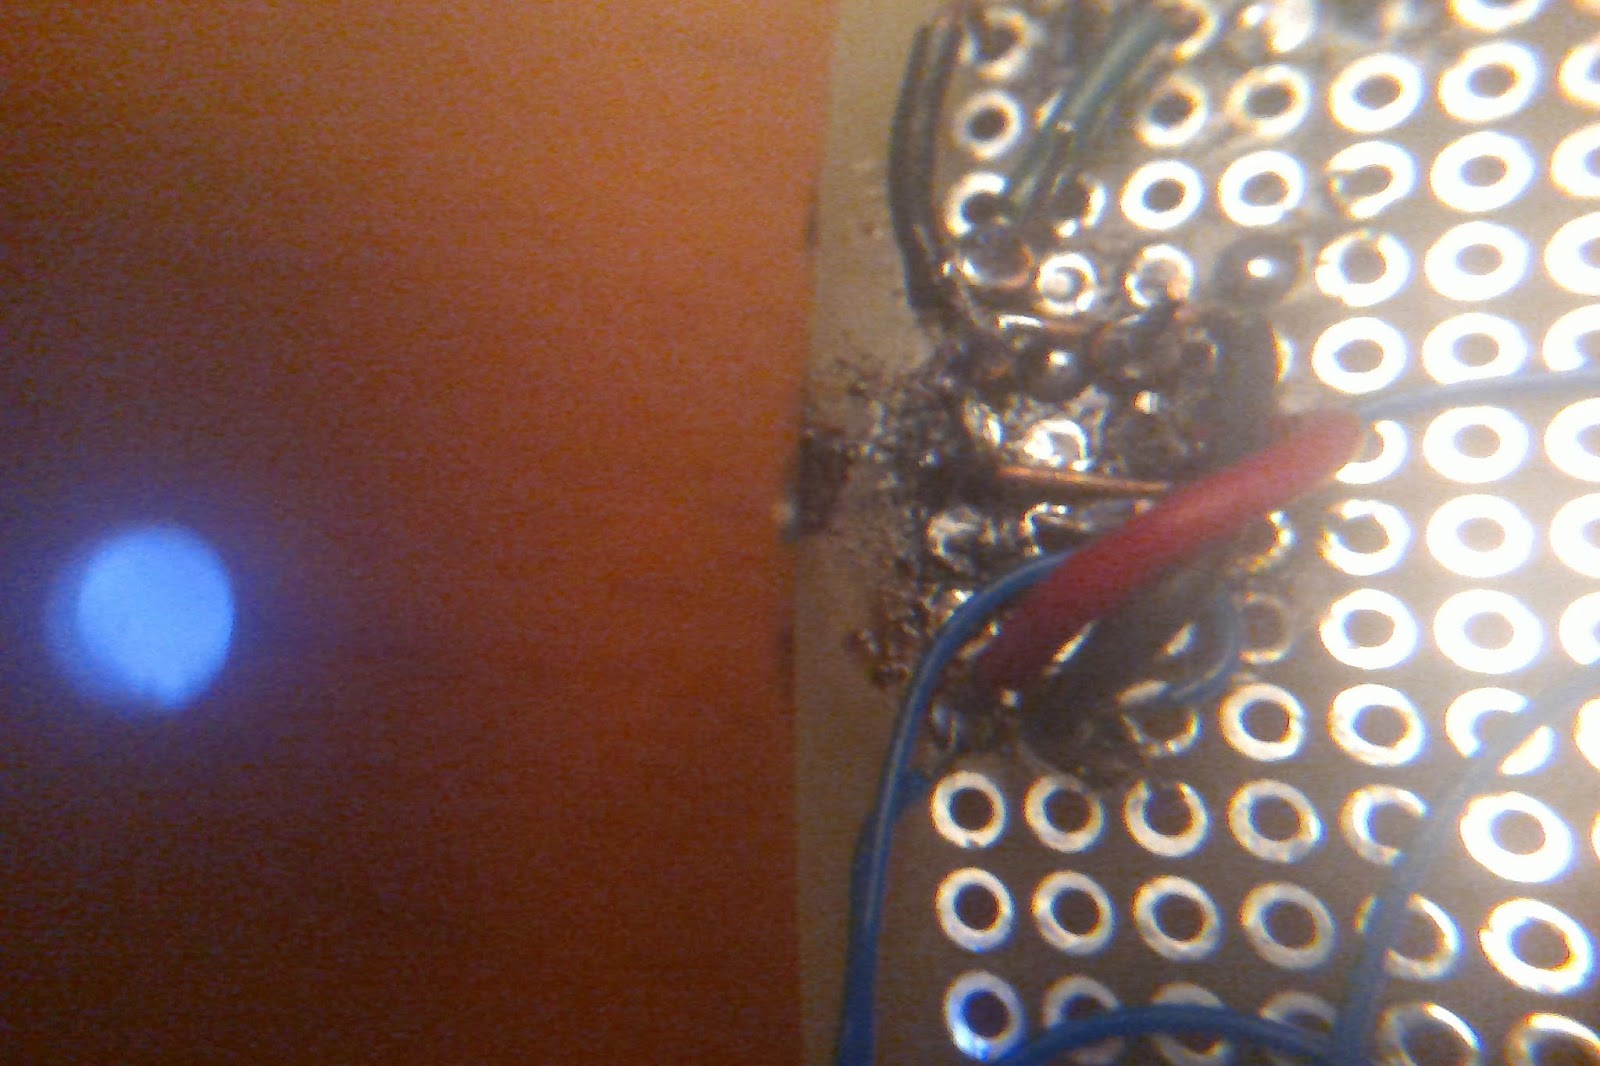
Here is the front:
Next, I went to solder in the JTAG connector and a PLCC-44 socket.
First I did some small tacking solders to keep them in place. Then I soldered a bunch of wires to the JTAG connector. In retrospect, it’s better to do it wire by wire rather than connect a bunch at one end and then connect them at the at other end.
Once I was all done, I took the 10 connector ribbon cable from the Lattice ispDownloadCable, my DMM, my loop and glasses, and my design paper and headed over to Liberty for a schooner of beer and to check the continuity of the power, ground, and JTAG connections. I had misplaced the TMI in pin 21 instead of pin 32. So I fixed that when I got home.
Once it was ready, I powered up. LED came on and no smoke. 5V everywhere.
Next I plugged in my ispDownload cable and fired up ispVM. My chain was already there with the part number and the .jed file to download. ispVM has a some issues doing more than one thing. I can do one thing then I have to unplug and replug otherwise I get an error telling me the driver isn’t loaded. I can deal with that.
Finally, the moment of truth… I popped an M4A5-64/32 into the socket. Then I clicked Download which does erase, program, verify. ispVM showed a little progress dialog that counted to about 5 seconds, and then indicated that the process passed.
Wow! It passed. I just programmed a CPLD with verilog I wrote. This is a big early milestone.

BTW, there are 3 pins on the JTAG connector that don’t need to be connected. Two are outputs. One is an input that is ignored be default, at least with the part I’m using. I have 3 wires soldered at one end, but I’ll pop those off.
Next? Get ready to program the flash. That will require a second PLCC-44 socket and the 32 pin flash socket. It will be wire wrapped, but I need to solder the pins. I’m also thinking about better ways to get power to it. I’ll update progress as I make it. But this might take a little time. I also have a conical tip for the soldering iron coming from Amazon, so that should help.